Nature Photography: A Complete Field Guide From Gear to Editing
Nature photography starts with knowing your subject before you touch a camera. I’ve spent years learning that a sharp eye matters more than a full bag of gear. This guide covers everything I use in the field, from settings to composition to editing.
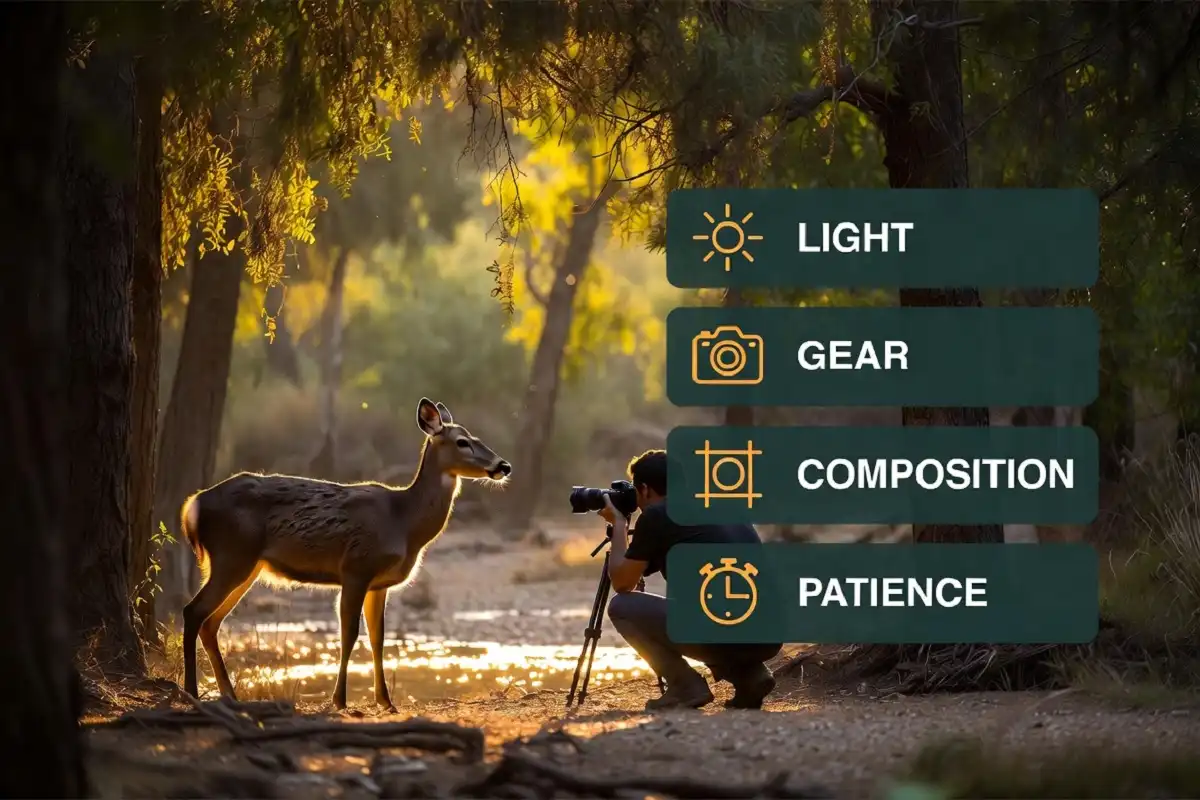
Good nature photography needs the right light, a stable shot, and patience with your subject. Shoot during golden hour, use a tripod for sharpness, and study animal or plant behavior before you press the shutter.
Essential Gear for Nature Photography
You don’t need the most expensive kit to start. You need gear that matches your subject and terrain. If you’re still building a shot list, a few ideas for capturing nature’s beauty can help you decide what gear to prioritize first.
Camera Bodies
Mirrorless cameras work well for nature photography now. They’re lighter than DSLRs and their autofocus tracks moving wildlife better. I carry a Sony A7 IV on most trail days. Its weather sealing has saved me during sudden Blue Ridge storms.
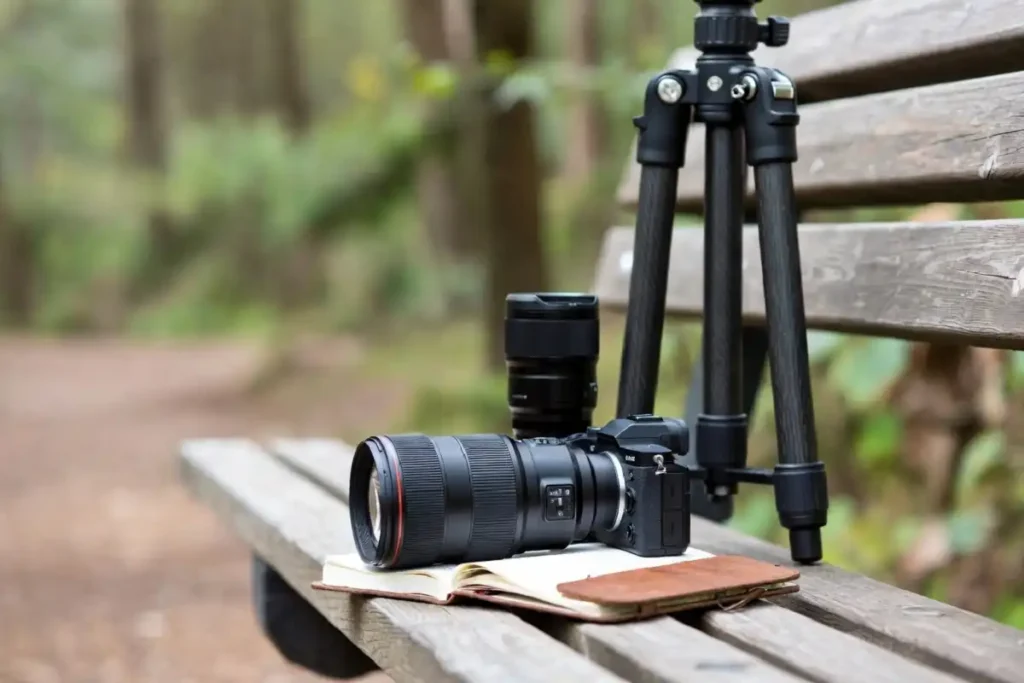
Lenses
A telephoto lens (100-400mm) covers most wildlife shots. A wide-angle lens (16-35mm) handles landscapes and big skies. For close-up work, a dedicated macro lens shows detail the naked eye misses, like frost patterns on a leaf.
Tripods and Support
A tripod steadies your shot in low light. Carbon fiber models cut weight on long hikes without losing stability. I use a Peak Design travel tripod because it folds small enough to strap to a pack.
Camera Settings for Nature Photography
Start in aperture priority mode. It gives you control over depth of field while the camera handles shutter speed.
- Landscapes: f/8 to f/16 for sharpness front to back.
- Wildlife: f/4 to f/5.6 to isolate the subject and allow faster shutter speeds.
- Macro: f/11 to f/16 for enough depth of field on small subjects.
Keep your ISO as low as light allows. Raise it only when shutter speed drops below what you need to freeze motion. Shoot in RAW format. It holds far more detail for editing than JPEG.
Best Light for Nature Photography
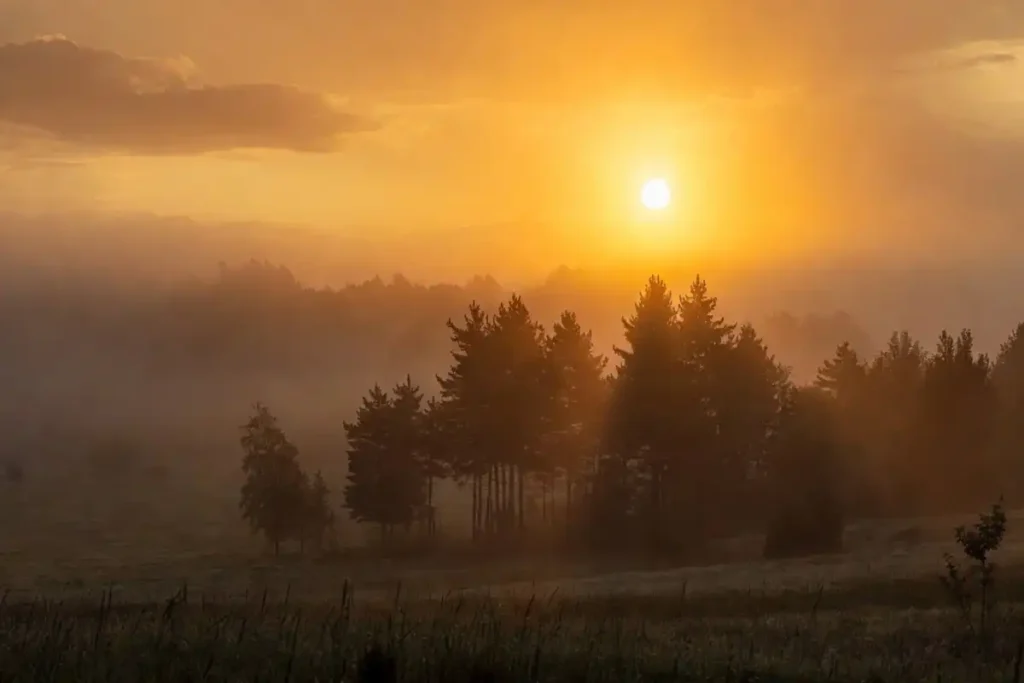
The hour after sunrise and before sunset gives the softest, warmest light. Photographers call this golden hour. Shadows stretch long and colors turn rich instead of flat.
Blue hour, the short window before sunrise and after sunset, suits misty forests and still water. Midday light works only in overcast conditions, when clouds act as a natural diffuser. On clear days, midday sun creates harsh shadows and blown highlights on skin, fur, and leaves alike.
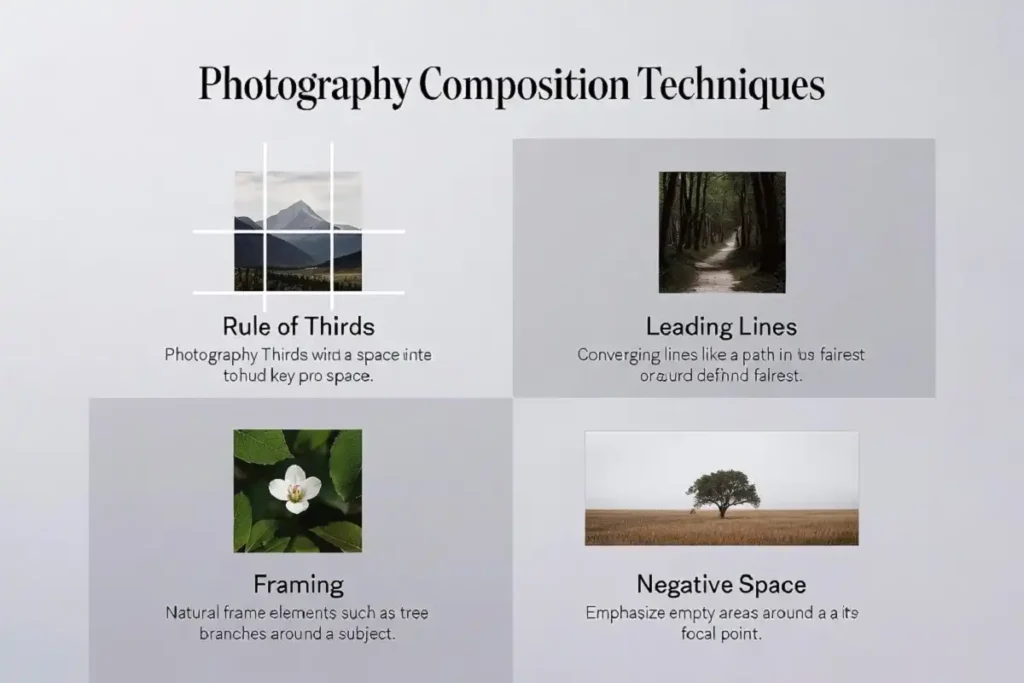
Composition Techniques for Nature Photography
Strong composition turns a good scene into a memorable image.
- Rule of thirds: place your subject off-center for a more natural balance.
- Leading lines: use rivers, trails, or fallen logs to draw the eye toward your subject.
- Framing: shoot through branches or rock openings to add depth.
- Negative space: leave open sky or water around a small subject to show scale.
Get low for a different perspective. Shooting at eye level with a flower or small animal changes the entire feel of the shot.
Nature Photography by Subject
Different subjects call for different approaches within nature photography.
Wildlife
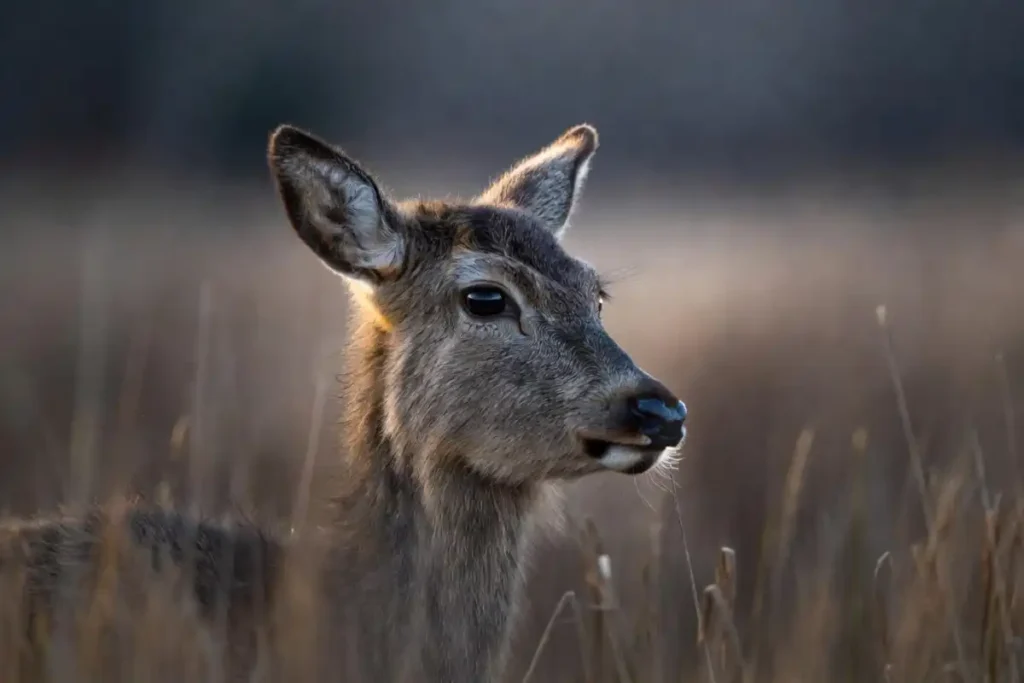
Learn the animal’s routine before you shoot. Deer feed at dawn and dusk. Birds are most active in early morning. Stay downwind and move slowly. A startled animal ruins the shot and stresses the animal. Scouting quiet routes on trails near you with strong wildlife activity pays off before you ever raise the camera.
Landscapes
Scout your location ahead of time. Apps that track sun position help you plan the exact angle of light on a mountain or coastline. Arrive before the light does. For inspiration on framing big scenes, look through this roundup of striking earth beauty shots from 2026.
Macro and Plants
Wind is your biggest obstacle here. Shoot early, when the air is still, or bring a small clip to steady a stem. Focus stacking helps when you need the whole subject sharp.
Nature Photography Ethics and Trail Etiquette
Never bait or disturb wildlife for a photo. Stay on marked trails to protect root systems and fragile ground cover. Keep a safe distance from nesting birds and denning animals, even with a long lens.
I’ve watched photographers trample protected areas for a better angle. That shot isn’t worth the damage. Respect posted closures, especially during breeding seasons. Many parks close specific trails in spring for exactly this reason.
Editing Nature Photography Images
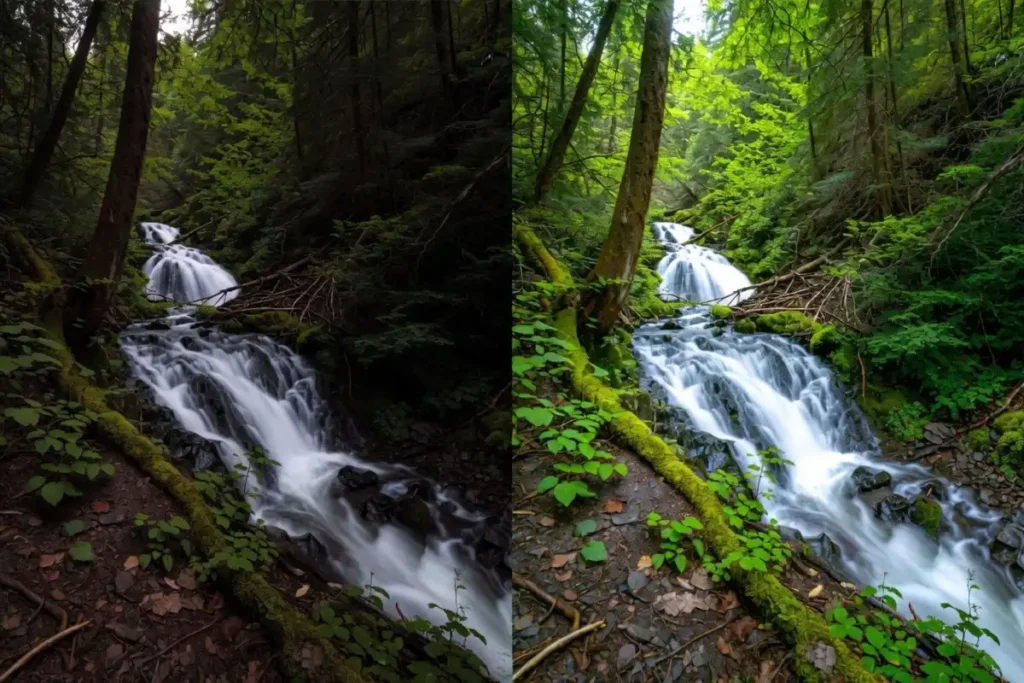
Editing should enhance the scene, not invent it. Adjust white balance first, since forest shade and open sky read very differently on camera. Bring back shadow detail and pull down blown highlights.
Sharpen selectively rather than across the whole frame. Oversharpened fur or leaves look artificial fast. Save heavy edits, like sky replacement, for a separate style of work. True nature photography holds close to what the scene actually looked like.
Common Mistakes to Avoid
- Shooting only at midday, when light is flat and harsh.
- Skipping a tripod for handheld shots in low light.
- Ignoring the background, which can clutter or distract from the subject.
- Approaching wildlife too closely for a “better” shot.
- Editing so heavily that the image no longer looks real.
Each mistake is fixable with practice and a slower pace in the field. Most nature photography problems trace back to rushing the shot.
What I’d Tell a Friend
Slow down. The best images I’ve taken came from waiting, not chasing. Learn your gear well enough that it disappears from your thinking, then focus on light, timing, and respect for the place you’re standing in. That’s the real skill behind lasting nature photography.